Installation Guide
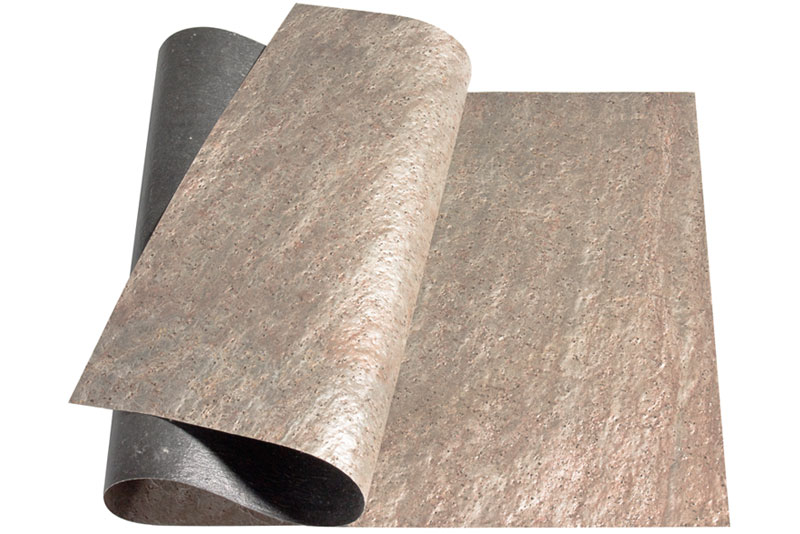
Flexibility
Stone-Veneer is capable of being Installed by a competent DIY person but as in a lot of cases it is advisable to have a professional tiler do the installation work. Stone -Veneer can be used in many of the same applications as other thin laminate products are used. It will bend to a minimum radius of 8“ depending on the stone colour and type in question, with the assistance of heat smaller radius can be achieved. Testing should always be done prior to any installation. Stone -Veneer can be bent inward and outward to meet a given look or architecture as the fibre strands used in the makeup of the Veneer give it superior strength and flexibility. Always wear the correct safety equipment, gloves, safety goggles and dust masks etc when working with Stone-Veneer. MSDS Sheets available on request.
Preparation
Before preparation it may be necessary to clean, brush or degrease any surface of dust and oils. In some installations depending on the adhesive used it may be necessary to prep the back of the stone veneer by sanding or scuffing. Some adhesives may require the use of solvents or a recommended primer by the adhesive manufacturer, at all times it is important to follow the manufacturers instructions. SmartStone supply the proper adhesives for the installation process
Layout & Patterns
Time spent preparing the work area will pay off immensley. A preliminary dry fit of the Stone-Veneer allows for arrangements and orientation of individual sheets, patterns, textures and colours before the final placement. It is recommended that each tile be dry fitted exactly where it will be placed on horizontal or vertical surfaces. numbering the sheets to track relocation before cutting , trimming is recommended and will save time
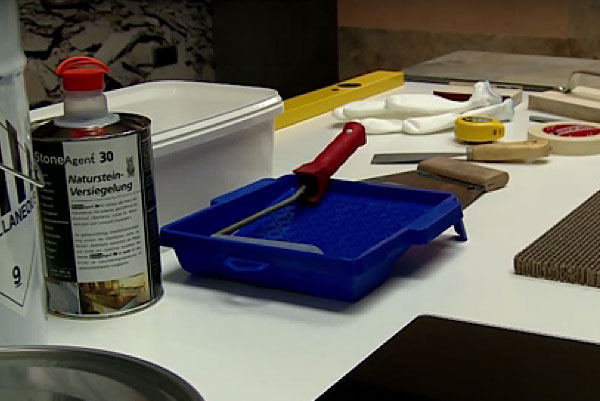
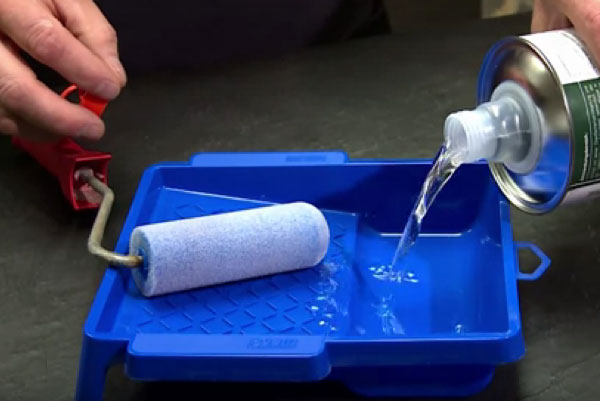
Sealers & Impregnators
All Stone-Veneer needs sealers and impregnators for stain and scratch protection and is similar to the process used for the stone industry. It is best to pre-seal Stone-Veneer sheets prior to installation. This protects and seals the face of the tile from adhesives and Grout during the installation & handling process.Stone-Veneer can be sealed with the same sealers that are used on slate, stone tiles and wood.Sealers vary from Natural look, Matt and Glossy, It is also advisable to test any sealer for the desired luster and penetration prior to installation. SmartStone stock all sealers and impregnators and can advise on which one suits best.
Cutting & Sawing
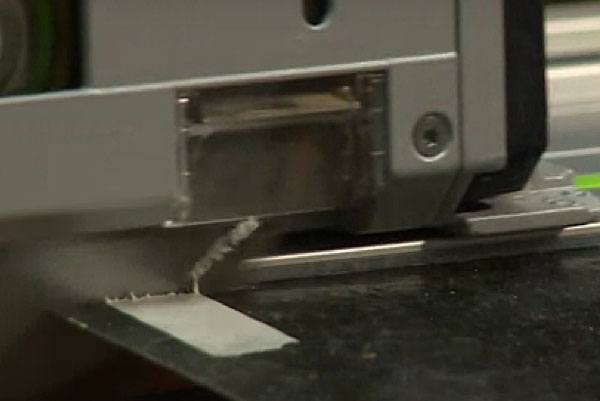
Cutting straight lines and curves is best done using a long nosed tin snips or it can also be cut with a metal shear, wet saw or table saw with carbide blade. All other standard tools for sawing, drilling milling bending can be used.
Adhesives
It is important to know your adhesives; by understanding the specifics of the adhesive, a great deal of time and expense can be saved. All adhesives should be tested prior to installation including consideration of moisture and temperature in the planned environment. If the application is outdoors consideration to thermal expansion needs to be taken into account. Since Stone-Veneer is a Veneer it must contract and expand with the substrate or delamination may occur. Where adhesive primers are recommended the bond should be tested by the installer before final installation.
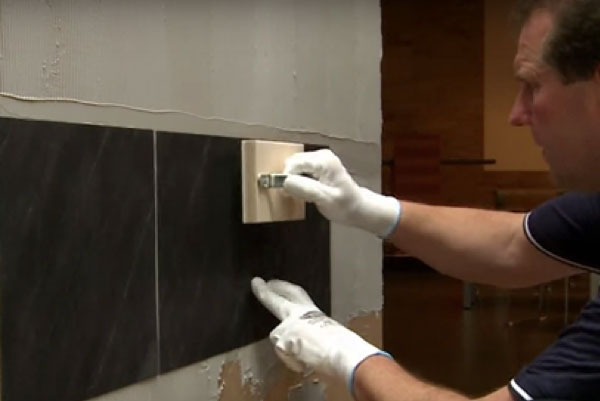
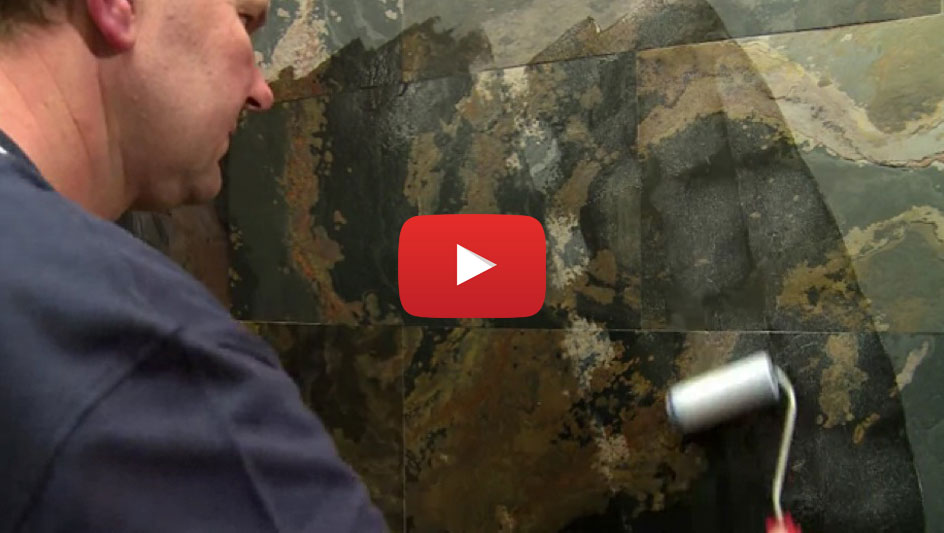
Installation
Simply apply the proper adhesive to the back of the Stone- Veneer sheet with the recommended 3/16 V notched trowel and mount the sheet into place. Starting at the centre of the sheet, using a roller or hand pressure, work any trapped Air out towards the edge of the sheet being careful not to stain the surface of the tile with the excess adhesive moving outwards.Do not press too hard while rolling as this may cause backfilled areas to push adhesive out and leave air voids. Proper back filling and good rolling techniques will result in a solid hard surface when completed. After adhesive has cured you may finish the edge with any grout or trim pieces to match the decor
Tiling, Grouting and Jointing
Stone - Veneer can be used to create a tiled effect by leaving a grout joint between each tile. Veneer sheets may also be butt jointed for the look of a smaller seam. Due to the thin nature of the Stone -Veneer a 1/8 to 1/4 inch grout joint will produce a better effect. Tests show the use of water based epoxy and acrylic premixed grout joints work well to fill between the tiles,. Grouts are available from SmartStone in several colours to suit the different Stone-Veneers. If desired a deeper grout joint can be achieved by removing or scraping just under the grout joint area. Modified grout and caulking grout can be used.
Substrate
Stone-Veneer can be applied to MDF, HDF boards, styro foam sheets, melamine, brick, concrete blocks & slabs, mortar plastered walls, drywall, plywood, acrylic or plastic sheets ( Translucent). In some indoor and most outdoor applications expansion and contraction must be equal to prevent delamination. A flexible adhesive may be considered in this case. Concrete and masonry substrates must be at least 28 days old. Hydrostatic pressure conditions and vapour transmission cannot exceed 3lbs per 1000sq ft. / 1.36kg per 92.9m2 per 24 hours using a calcium chloride test ( Ref. ASTM F1869) and retained moisture should be less than 2.5%.
Please note all of the above information is for guidance purposes, please refer to the manufacturers instructions at all times.